UniFi controller reference (advanced)
Running your own UniFi controller? Point its guest hotspot at the HeidiFi captive portal — network, external portal server, and walled-garden settings.
Last updated August 13, 2026
This guide is for venues that run their own UniFi Network controller and want its guest WiFi to use the HeidiFi captive portal.
Most venues don't need this page. If you bought a UniFi access point for HeidiFi, follow Setting up your UniFi access point instead — HeidiFi runs the controller for you and there's nothing below to configure.
You'll need administrator access to your controller (UniFi Network 7 or newer) and about 15 minutes.
1. Adopt your access point
If the access point is new to your controller, adopt it as usual: it appears under Devices as Pending Adoption once powered on — click Adopt.
You can also pre-register its MAC address so it's easier to spot: go to Network → Clients, click Add Client, paste the MAC address, and give it a recognizable name.
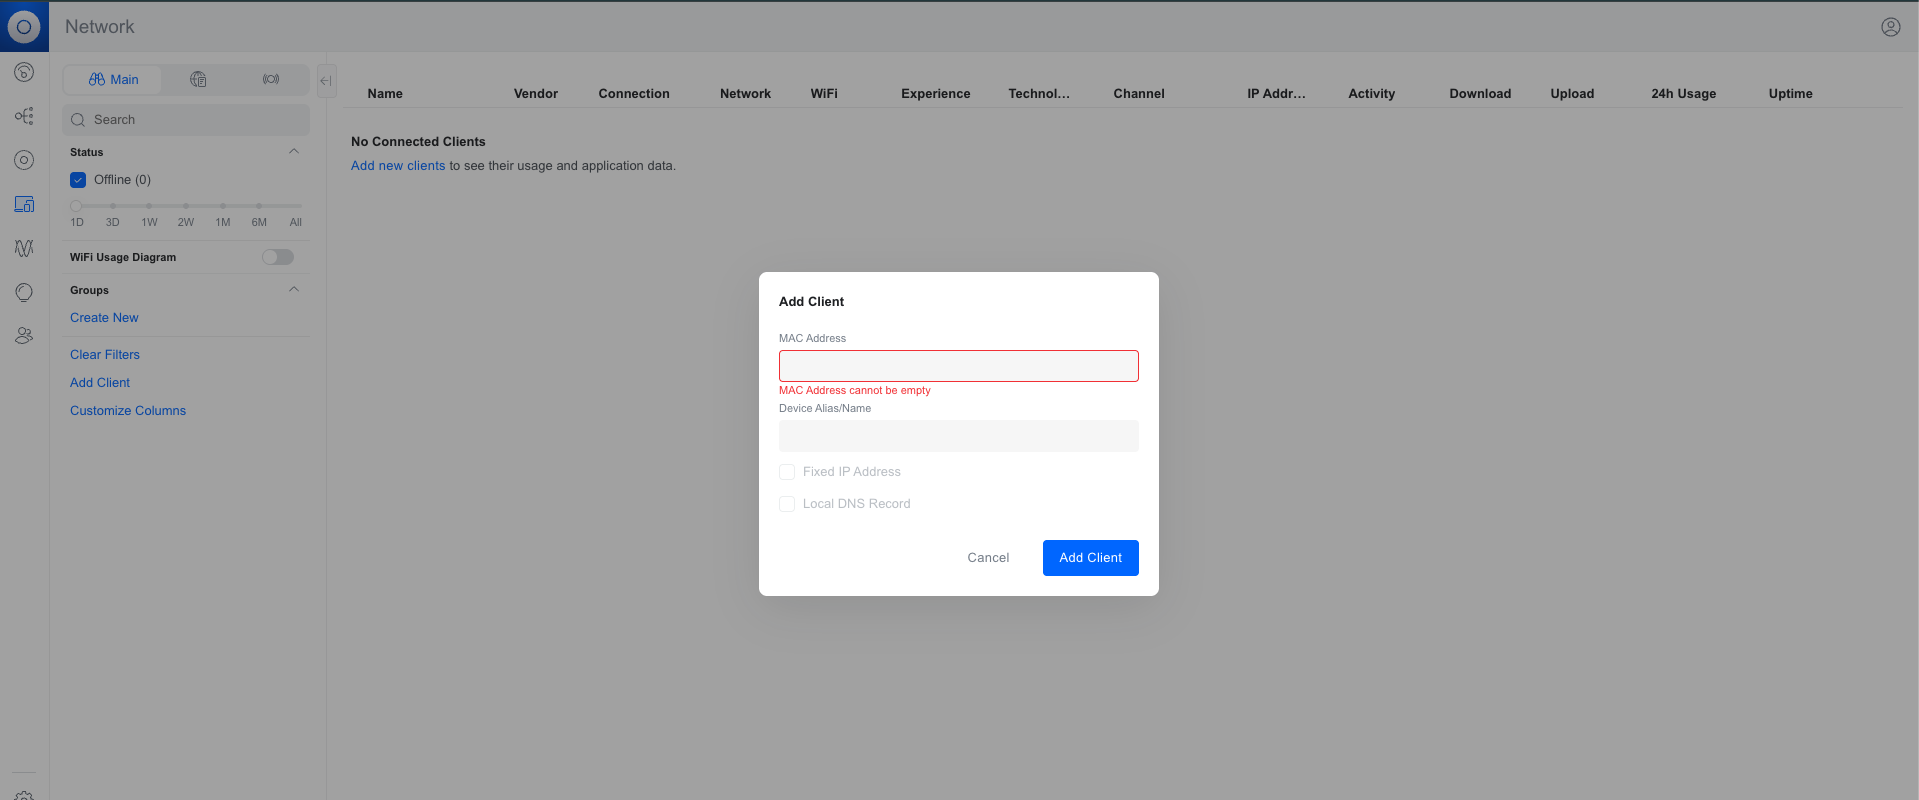
2. Create the guest WiFi network
Go to Settings → WiFi → Create New:
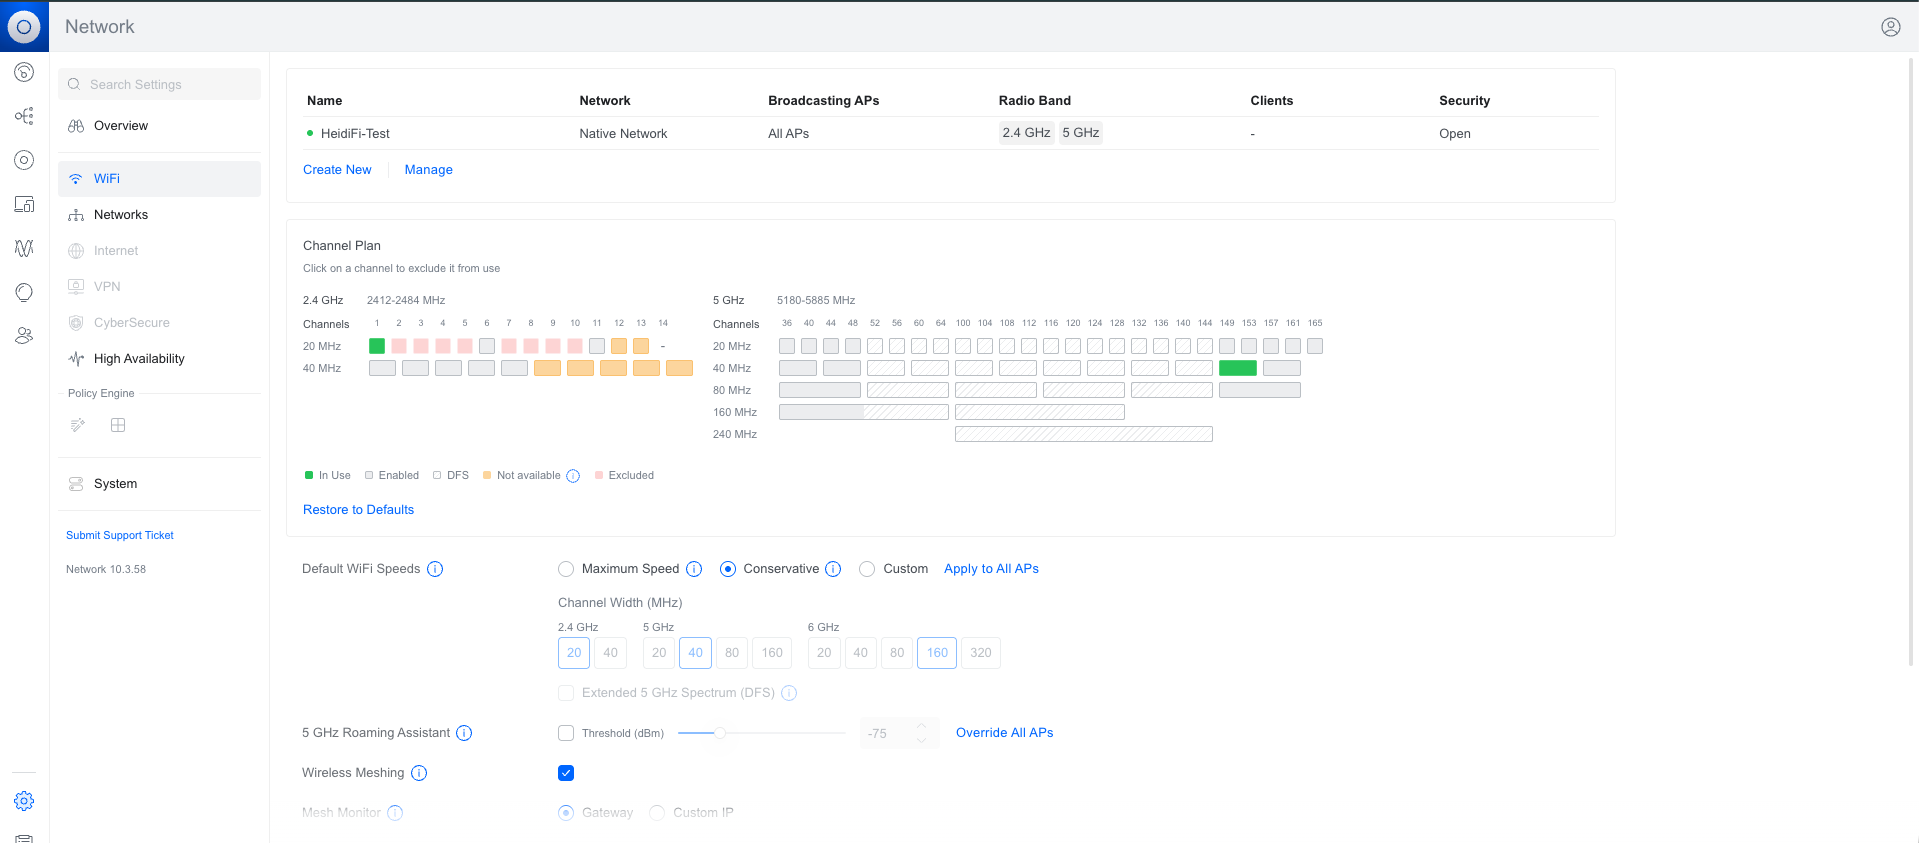
- Name — the SSID your guests will see.
- Network — Native Network.
- Broadcasting APs — All, or scope it to specific access points.
- Application — Hotspot.
- Hotspot Type — Captive Portal.
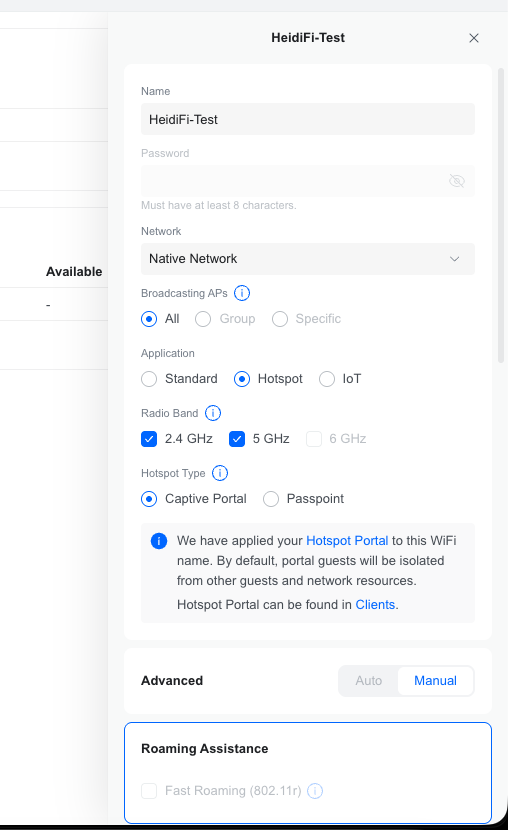
Save the network — the controller confirms a Hotspot Portal has been applied to it.
3. Point the hotspot at HeidiFi
Open the hotspot you just created (usually under Clients → Hotspot, or the Hotspot Portal link in the WiFi settings). Under One Way Methods, enable External Portal Server, click Edit, and set the portal address:
External portal server
p.heidifi.aiThen check all three of:
- HTTPS Redirection Support
- Encrypted URL
- Domain — and paste
p.heidifi.aias the domain
Without HTTPS Redirection Support, guests on modern phones only get the native "Sign in to network" prompt instead of the HeidiFi splash screen.
4. Set the walled garden
Still in the hotspot editor, scroll to Authorization Access. Guests must be able to reach these before signing in — add each to Pre-Authorization Allowances:
p.heidifi.aiapi.heidifi.aiaskheidi.b-cdn.netAlso add your controller's own IP or hostname, so the access point can reach it during the sign-in flow.
askheidi.b-cdn.net serves your logo and splash images. Leave it out and the splash page still opens — but with every image broken.
To keep guests off your internal network after they sign in, add the private ranges to Post-Authorization Restrictions:
192.168.0.0/16172.16.0.0/1210.0.0.0/85. Verify
- Connect a phone to the new SSID.
- The HeidiFi splash page should open automatically.
- Complete the sign-in form.
- You should have internet access.
If you only see a native "Sign in to network" prompt, recheck HTTPS Redirection Support in step 3 and the pre-authorization allowances in step 4.
Register your controller with HeidiFi
For HeidiFi to authorize guests and show your access points' status, your controller needs to be linked to your HeidiFi account. This part is done together with our team — contact us with your venue name and we'll complete the connection with you.
Ready to get started?
Start your 14-day free trial — add a card, cancel any time before it ends and you will not be charged.
Start 14-Day Free Trial